

Why the Repair Method Matters
Drywall damage is one of the most common home repair tasks - and one of the most frequently done incorrectly. The mistake most homeowners make is applying the same fix (a glob of spackle) to every type of damage. A nail hole and a doorknob punch-through are fundamentally different structural problems, and treating them identically leads to repairs that crack, sag, or remain visible under paint.
Understanding why different hole sizes need different approaches gives you the confidence to choose correctly and produce a lasting result. Small holes have intact surrounding drywall to support filler. Medium holes have lost their structural core and need reinforcement before compound can bridge the gap. Large holes require a new piece of drywall, because joint compound alone has no meaningful tensile strength.
Older Homes May Contain Hazardous Materials
Homes built before 1980 may have drywall joint compound or textured coatings containing asbestos. Disturbing these materials without proper testing can release harmful fibers. If your home is older and you're unsure of the materials present, have the wall tested by a certified inspector before sanding or cutting.
With the right method and a little patience, nearly every drywall repair is achievable as a weekend DIY project. The sections below walk through what you'll need and exactly how to proceed.
What you will need
What You'll Need
Gather materials before starting so you aren't running back to the store mid-repair. Your shopping list will depend on the size of the damage:
Putty knife or drywall knife (4-6 inch)
Used to apply and feather joint compound smoothly over the repair area.
Lightweight spackle or setting-type joint compound
Fills voids and builds up the patched surface to match surrounding drywall.
Self-adhesive mesh patch kit
Provides a reinforcing base for medium-sized holes before applying compound.
Drywall saw or jab saw
Cuts existing drywall cleanly when removing damaged sections for large repairs.
Drywall screws and a drill or screwdriver
Secures replacement drywall panels or backing boards firmly to the framing.
120- and 220-grit sandpaper or sanding sponge
Smooths dried compound between coats and before priming.
Drywall primer
Seals the patched area so paint adheres evenly and the repair doesn't show through.
For most medium and large repairs, plan to dedicate at least two days to the project - one for patching and the first compound coat, a second for finish coats and sanding once everything has dried thoroughly.
Step-by-Step Repair Instructions
Follow the steps below in order. Rushing any stage - especially drying time between coats - is the most common cause of a repair that looks worse than the original damage.
Assess the hole and choose the right repair method
Measure the damaged area carefully. Holes under ½ inch (nail pops, small dents) need only spackle. Holes ½ inch to about 6 inches require a mesh patch or the California patch method for backing. Holes larger than 6 inches should be cut back to the nearest studs or supported with backing boards, then filled with a fresh piece of drywall. Picking the correct method from the start saves rework.
Prep the damaged area
Remove any loose paper facing, crumbled gypsum, or protruding fasteners around the hole. For small holes, clean the edges until you have a firm perimeter. For larger holes, use a utility knife or drywall saw to trim ragged edges back to a clean rectangle or square - straight edges are much easier to patch than irregular ones.
Apply the appropriate backing or patch
Small holes (under ½ inch): No backing needed - proceed directly to compound.
Medium holes (½ inch to 6 inches): Press a self-adhesive mesh patch firmly over the hole, or use the California patch method: cut a drywall piece slightly larger than the hole, score and snap off the back gypsum to leave a paper flap on each side, then insert the gypsum core into the hole and fold the paper flaps out flat onto the wall surface.
Large holes: Cut backing boards (1×4 or 2×4 lumber works well) and screw them into place behind the opening so they span the gap. Then cut a drywall patch to fit and drive drywall screws through the patch and into the backing boards.
Apply the first coat of joint compound
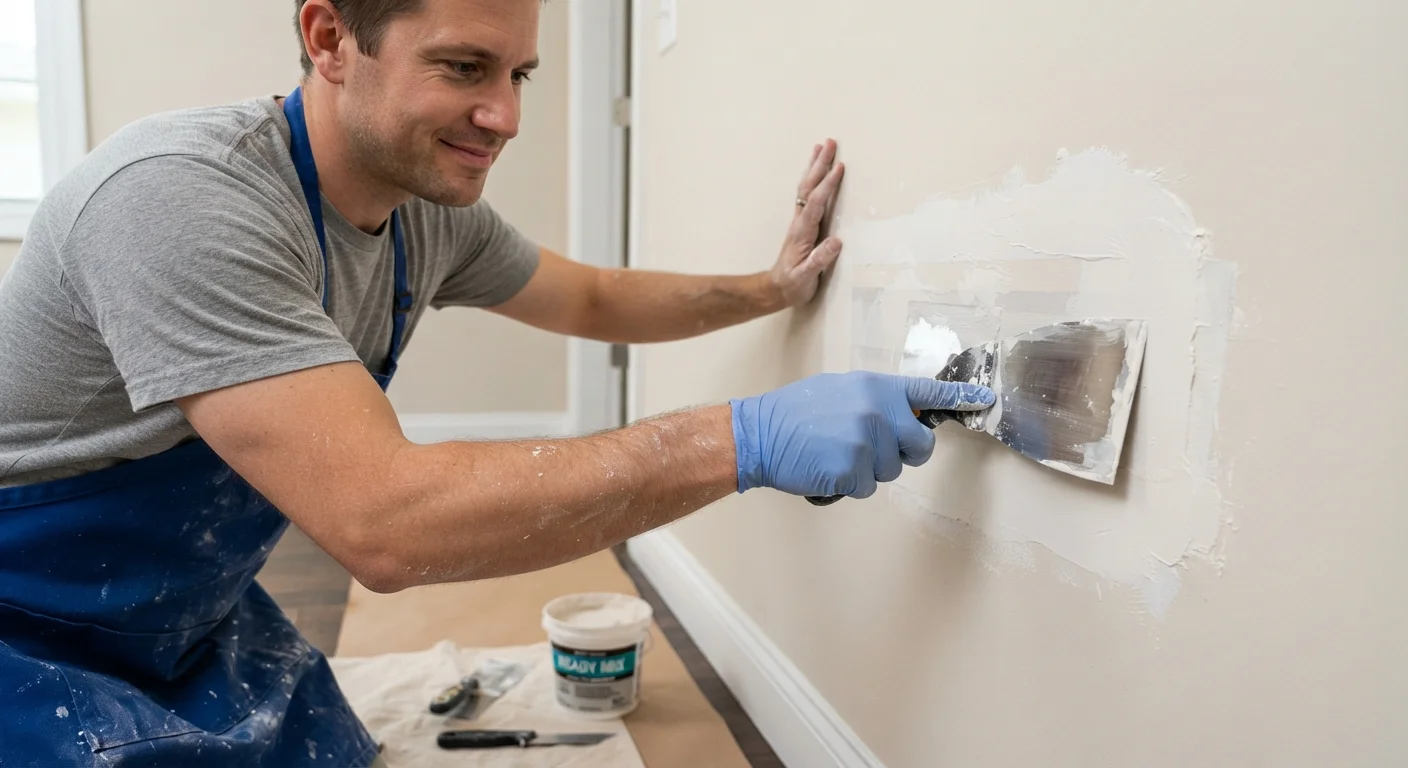
Load your putty knife with a modest amount of lightweight joint compound. Spread it across the patch in smooth, even strokes, pressing firmly to fill the mesh or seams. Feather the edges outward several inches beyond the repair so the coat blends gradually into the surrounding wall. Keep this first coat thin - its job is to embed the mesh and fill voids, not to achieve a smooth finish.
Sand, then apply additional coats
Allow the first coat to dry completely - typically several hours or overnight depending on humidity. Lightly sand with 120-grit sandpaper to knock down ridges, then wipe away dust with a damp cloth. Apply a second coat, feathering even wider than the first. Most medium to large patches require three coats total. Each successive coat should be slightly thinner and spread farther out to create a gradual, invisible transition.
Final sand, prime, and paint
Once the final coat is fully cured, sand the entire repair area with 220-grit paper until it is smooth and flush with the surrounding wall. Wipe clean with a slightly damp cloth. Apply a coat of drywall primer and let it dry fully before painting. Match the existing wall texture if needed - light spray texture, a roller with a specific nap, or a skip-trowel technique can all replicate common finishes.
Matching Wall Texture Takes Practice
Before attempting to texture the patched area, test your technique on a scrap piece of drywall. Common finishes like orange peel or knockdown can be replicated with spray cans or specific roller naps, but slight differences in technique produce noticeably different results. A test run costs nothing and can save you from redoing a finished wall.
Address Moisture Before Patching
Patching over a water-damaged area without resolving the underlying moisture source will cause the repair to fail - often quickly. Mold, soft gypsum, or staining around a hole typically signals an active or recent leak. Identify and fix the water source, allow the area to dry fully, and treat any mold according to appropriate safety guidelines before beginning any drywall repair.
Finishing Touches and Common Mistakes
Even a technically sound patch can stand out if the final finishing steps are skipped. The most important things to remember:
- Prime before painting - always, without exception.
- Match sheen - flat, eggshell, and satin paints reflect light differently; mismatched sheen is as obvious as mismatched color.
- Texture before you prime - if you need to replicate a wall texture, do so after the final compound coat has dried and been sanded, but before priming.
- Feather wide - a patch that blends over 12-18 inches on each side is far less visible than one that stops abruptly at 3-4 inches.
When done well, a drywall patch should be completely invisible once painted. The investment of time in sanding, priming, and careful blending is always worth it.
The content on this site is for informational purposes only and is not a substitute for professional advice. Always consult a qualified professional for guidance specific to your situation.