

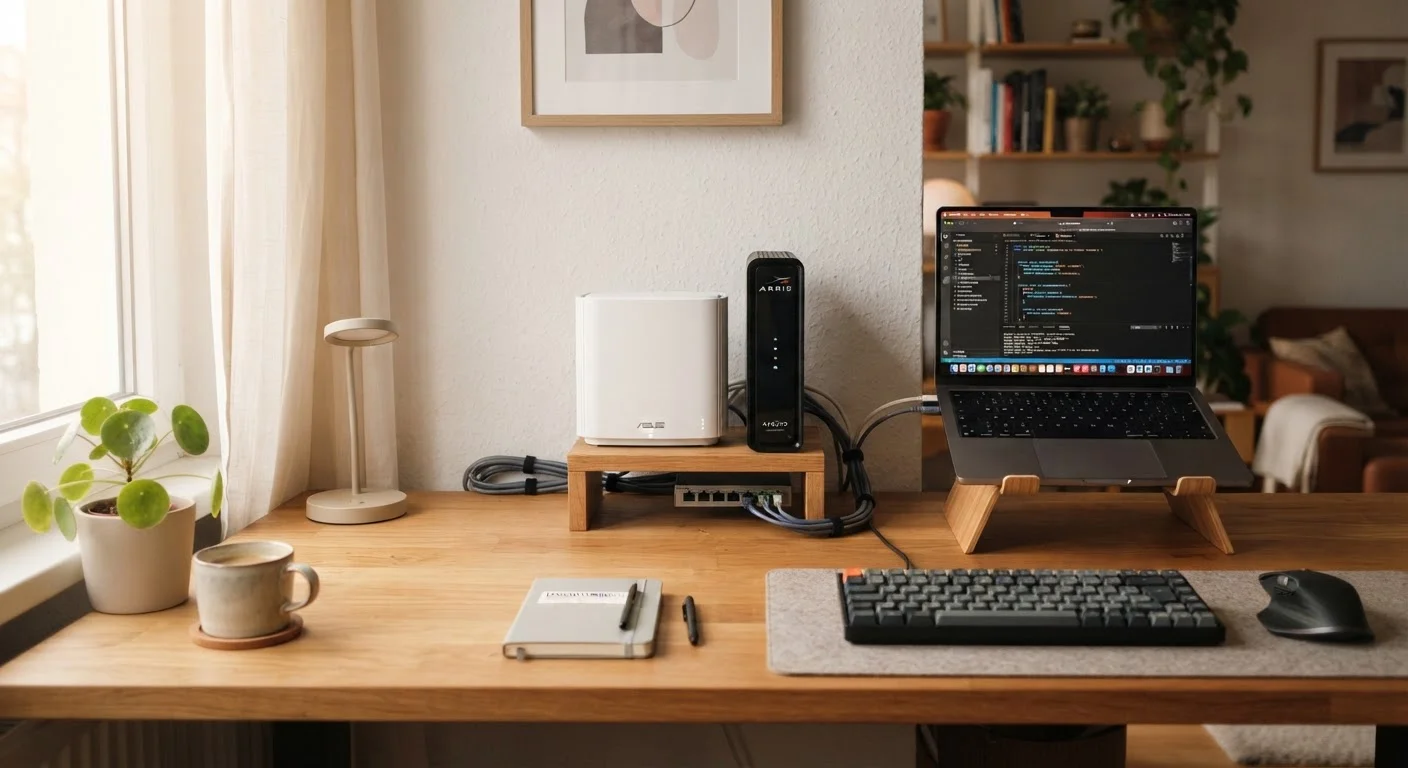
What You Need Before You Begin
A smooth installation starts with the right preparation. Confirm that your ISP has activated service at your address - equipment alone won't create a working connection until the provider's side is enabled. Have your account credentials and any paperwork from your ISP nearby.
What you will need
Modem
Translates the signal from your ISP's network into a format your home devices can use.
Wireless router
Distributes the internet signal from the modem to all Wi-Fi and wired devices in your home.
Ethernet cable (Cat5e or higher)
Creates a reliable wired link between the modem and router, and can connect devices directly for faster speeds.
Coaxial or phone line cable
Connects your modem to the ISP's service line entering your home (cable or DSL service).
Power strip with surge protection
Protects your modem and router from electrical surges that can damage equipment.
If you're weighing whether to use ISP-rented equipment or your own modem and router, note that purchased equipment often pays for itself within a year by eliminating rental fees. However, you must confirm device compatibility with your ISP before buying.
Step-by-Step Setup Instructions
Follow these steps in order. Each stage builds on the previous one, so skipping ahead - particularly on activation - can create connectivity problems that are frustrating to diagnose after the fact.
Choose your service type and confirm your plan
Before touching any hardware, confirm the type of internet service being delivered to your home - fiber, cable, DSL, or fixed wireless. Each uses different equipment and connection ports. Your ISP will specify what's included. If you're unsure about the differences, the guide to internet delivery technologies explains how each one works and what to expect.
Review your plan's advertised download and upload speeds. Keep this number handy - you'll verify it in the final step.
Position your modem near the service entry point
Locate the coaxial outlet (for cable) or phone jack (for DSL) on the wall closest to where your ISP's line enters your home. Connect the appropriate cable from that wall port directly to the modem's input port. Plug the modem into a power outlet and allow two to three minutes for it to fully initialize - most modems have indicator lights that cycle through colors before settling on a steady state.
Connect the router to the modem
Using an ethernet cable, connect one end to the modem's LAN (Local Area Network) output port and the other end to the router's WAN (Wide Area Network) input port - often labeled "Internet" and typically a different color from the other ports. Plug the router into power and allow it to boot fully, which usually takes one to two minutes.
Activate your service through your ISP
Most ISPs require account activation before traffic flows through. This is typically done via the ISP's app, website, or an automated phone line. You'll need your account number or the activation code from your welcome email. Follow the ISP's on-screen prompts - some services activate automatically once the modem is detected on their network, while others require you to confirm your identity and equipment serial number.
Configure and secure your Wi-Fi network
Access your router's settings by entering its IP address (commonly 192.168.1.1 or 192.168.0.1) into a browser, or use the manufacturer's app if available. At minimum, complete these two changes:
- Change the default Wi-Fi network name (SSID) to something that doesn't identify your router model or address.
- Set a strong Wi-Fi password using WPA3 or WPA2 encryption - avoid simple or reused passwords.
Also change the router's admin login credentials from the factory defaults. Default usernames and passwords are publicly documented and easy for others to exploit.
Run a speed test and verify your connection
Connect a device directly to the router via ethernet for the most accurate result, then navigate to a reputable speed testing website. Compare the result to your plan's advertised speeds. Upload and download speeds that are close to - but not always exactly at - your plan's maximum are normal due to network conditions. If speeds are consistently far below what you're paying for, contact your ISP with your test results as documentation.
Router Placement Matters More Than You Think
A router tucked behind a TV or buried in a corner will deliver noticeably weaker Wi-Fi throughout your home. Place the router in a central, elevated location with clear line-of-sight to the rooms where you use the internet most. Thick concrete walls, large metal appliances, and neighboring Wi-Fi networks on the same channel can all reduce signal quality. If your home is large or has multiple floors, consider a mesh network system rather than a single router.
Once your connection is confirmed and secured, you're ready to expand your home network. If you're planning to add smart devices, the smart home setup guide is a practical next step. For a broader look at everything that shapes your internet experience - from speed needs to equipment to troubleshooting - see Everything That Shapes Your Home Internet Experience.
The content on this site is for informational purposes only and is not a substitute for professional advice. Always consult a qualified professional for guidance specific to your situation.