

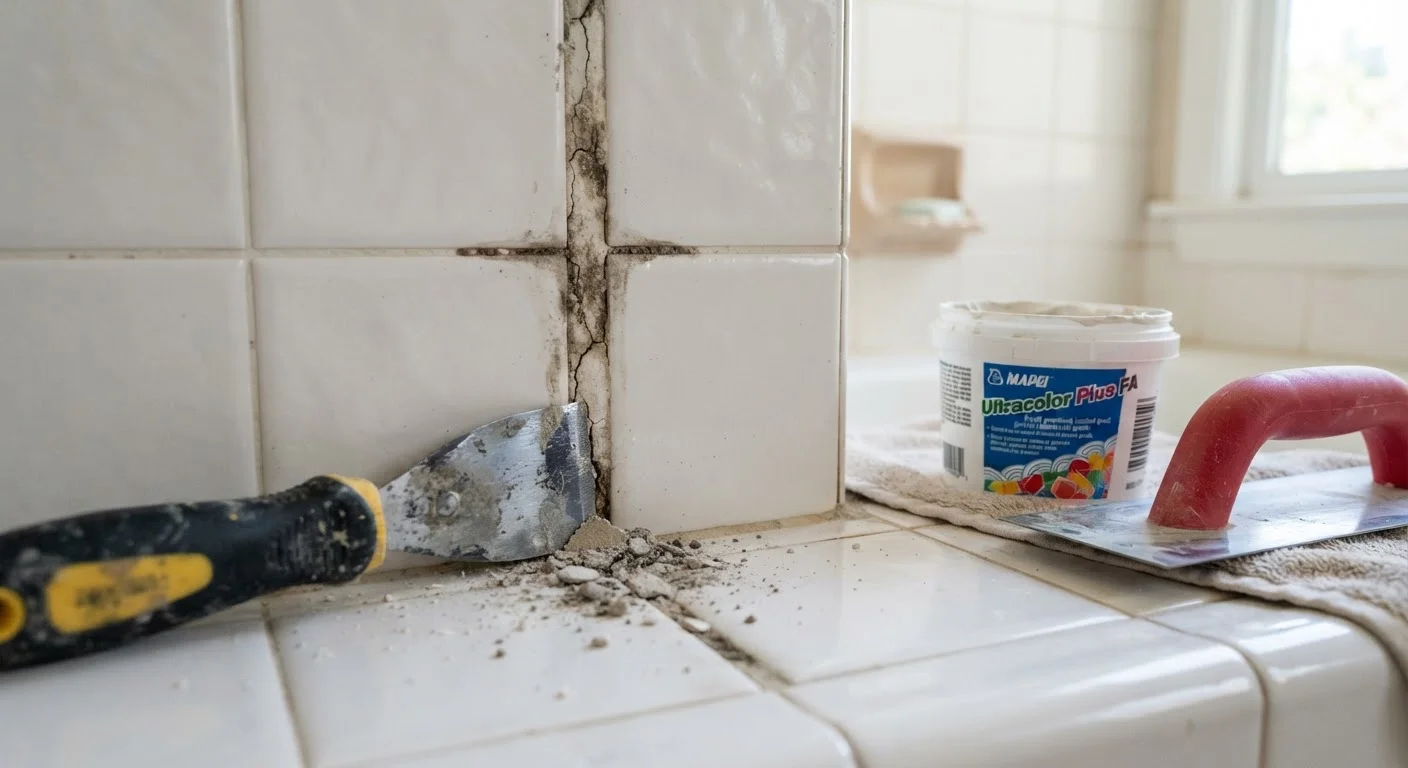
Why Grout Cracks in the First Place
Bathroom grout endures a lot - daily moisture, temperature swings, and the subtle shifting of your home's structure over time. Understanding why it fails is the first step toward fixing it properly.
The most common culprits include:
- Structural movement: Even minor settling in a home's framing causes tiles to flex slightly. Grout is rigid and doesn't flex with the tile, so it cracks under that stress.
- Too much water in the mix: Adding extra water to make grout easier to spread weakens its final strength significantly.
- Thin or uneven application: Grout joints that weren't fully packed - especially in floor tiles - crack quickly under foot traffic.
- Skipped curing time: Grout that dries too fast (due to heat, airflow, or low humidity) becomes brittle before it can cure properly.
Once you understand the cause, you can avoid repeating the same mistake during your repair.
3-5 years
Typical grout lifespan in high-use showers
Industry tile professionals generally note that grout in wet, heavily used shower enclosures often requires inspection or resealing within 3 to 5 years.
~3mm
Minimum depth old grout must be removed
Tile installation guidelines commonly recommend removing at least 3mm of old grout so new grout has sufficient mechanical bonding depth.
Common Regrouting Mistakes - and How to Avoid Them
Most failed regrout jobs come down to a handful of avoidable errors. Here's what to watch for:
Grouting directly over old, cracked grout without removing it first.
Why it happens: It seems faster and easier to apply fresh grout on top, but the cracked layer underneath creates an unstable base.
Using the wrong type of grout for the joint width or location.
Why it happens: Many homeowners don't realize there are different grout formulas - sanded, unsanded, and epoxy - each suited to specific gap sizes and conditions.
Applying grout to shower corners and floor-to-wall transitions instead of caulk.
Why it happens: These junctions look like grout joints, so it's intuitive to fill them with grout - but they're actually movement joints that flex with the structure.
Adding extra water to the grout mix to make it spread more easily.
Why it happens: Stiff grout is harder to work with, and adding water seems like a logical fix in the moment.
Washing the grout haze off tiles too soon or too aggressively.
Why it happens: The cloudy film left on tiles after grouting is unsightly, and the natural impulse is to clean it off immediately with plenty of water.
Don't Skip Grout Removal in Wet Areas
In showers, tub surrounds, and other wet areas, applying new grout over cracked old grout doesn't just fail faster - it can trap moisture behind the tile surface, leading to mold growth or substrate damage that's expensive to repair. Always remove the damaged grout fully before regrouting in any wet location.
If you're new to tiling in general, the skills involved here overlap significantly with starting a tile project from scratch. See our step-by-step backsplash guide for a useful primer on grouting technique.
How to Regrout a Bathroom Tile Surface the Right Way
Once you know what to avoid, the actual process is straightforward. Here's the correct sequence:
- Remove the old grout: Use a grout saw, oscillating tool with a grout removal blade, or a manual grout scraper to cut out the damaged grout to a depth of at least 3mm. Work carefully to avoid chipping tile edges.
- Clean thoroughly: Vacuum out dust, then wipe the joints with a damp cloth. Let everything dry completely before proceeding - moisture in the joint will weaken new grout adhesion.
- Mix grout to the right consistency: Follow the manufacturer's ratio exactly. The finished mix should resemble smooth peanut butter - not watery, not crumbly. Mix only what you can apply in 20-30 minutes.
- Apply and pack firmly: Hold the float at a 45-degree angle and press grout diagonally across the joints, packing them fully. Work in small sections.
- Wipe and shape: After about 15-20 minutes, use a damp sponge to wipe haze from tile faces. Rinse and wring the sponge frequently. Avoid over-wetting the grout.
- Allow full cure: Keep the area dry for at least 24-72 hours. Check the product's cure time - floor grout and unsanded grout have different requirements.
- Seal the grout: Once fully cured, apply a penetrating grout sealer to protect against moisture and staining. Reapply annually in high-use showers.
Note: For work involving waterproofing membranes, wall structure, or plumbing access, consult a licensed tile contractor or building professional. Permits or inspections may be required depending on your local building code - verify requirements with your local authority.
The content on this site is for informational purposes only and is not a substitute for professional advice. Always consult a qualified professional for guidance specific to your situation.