

Why Fluid Checks Matter Before Warning Lights Do
Modern vehicles are packed with sensors, but warning lights are a last resort - they typically trigger only after a problem has already developed. Fluids that are low, contaminated, or the wrong color are your engine's way of telling you something is off before a dashboard light ever appears. Regular visual checks put you ahead of that curve.
The five fluids covered in this guide - engine oil, coolant, brake fluid, transmission fluid, and power steering fluid - each serve critical functions. Oil lubricates and cools internal engine components. Coolant (also called antifreeze) regulates engine temperature. Brake fluid transfers the force of your foot into stopping power. Transmission fluid lubricates and cools the gearbox. Power steering fluid (where applicable) assists steering effort. When any of these drops too low or degrades, the consequences range from reduced performance to component failure.
Checking them yourself doesn't replace scheduled service - it complements it. For a full picture of service timelines, see Your Car's Maintenance Schedule, Decoded.
What you will need
What You'll Need
No specialized tools are required for these checks. The items below are all most drivers will need:
Owner's Manual
Identifies the exact location of each fluid reservoir and specifies the correct fluid type for your vehicle.
Clean Lint-Free Rag or Paper Towels
Wipes the dipstick clean between readings and cleans up any drips around reservoir caps.
Flashlight or Work Light
Improves visibility inside the engine bay, especially for identifying fluid color and reservoir markings.
Nitrile Gloves
Protects your hands from engine oil, coolant, and brake fluid, which can irritate skin.
Before you start, locate your owner's manual. Every vehicle positions its reservoirs differently, and the manual will identify each one clearly and specify which fluid types are compatible with your car. Using the wrong fluid - especially in the transmission or brake system - can cause serious damage.
How to Check Each Fluid
Follow these steps in order. With practice, the full routine takes under 15 minutes.
Park on a level surface and let the engine cool
Pull onto flat ground and turn off the engine. Wait at least 10-15 minutes before opening the hood - longer if the car has been running hard. A hot engine and hot fluids can cause burns. For an accurate oil reading, the engine should be fully cool or at least have been sitting for several minutes so oil drains back into the pan.
Check engine oil level and condition
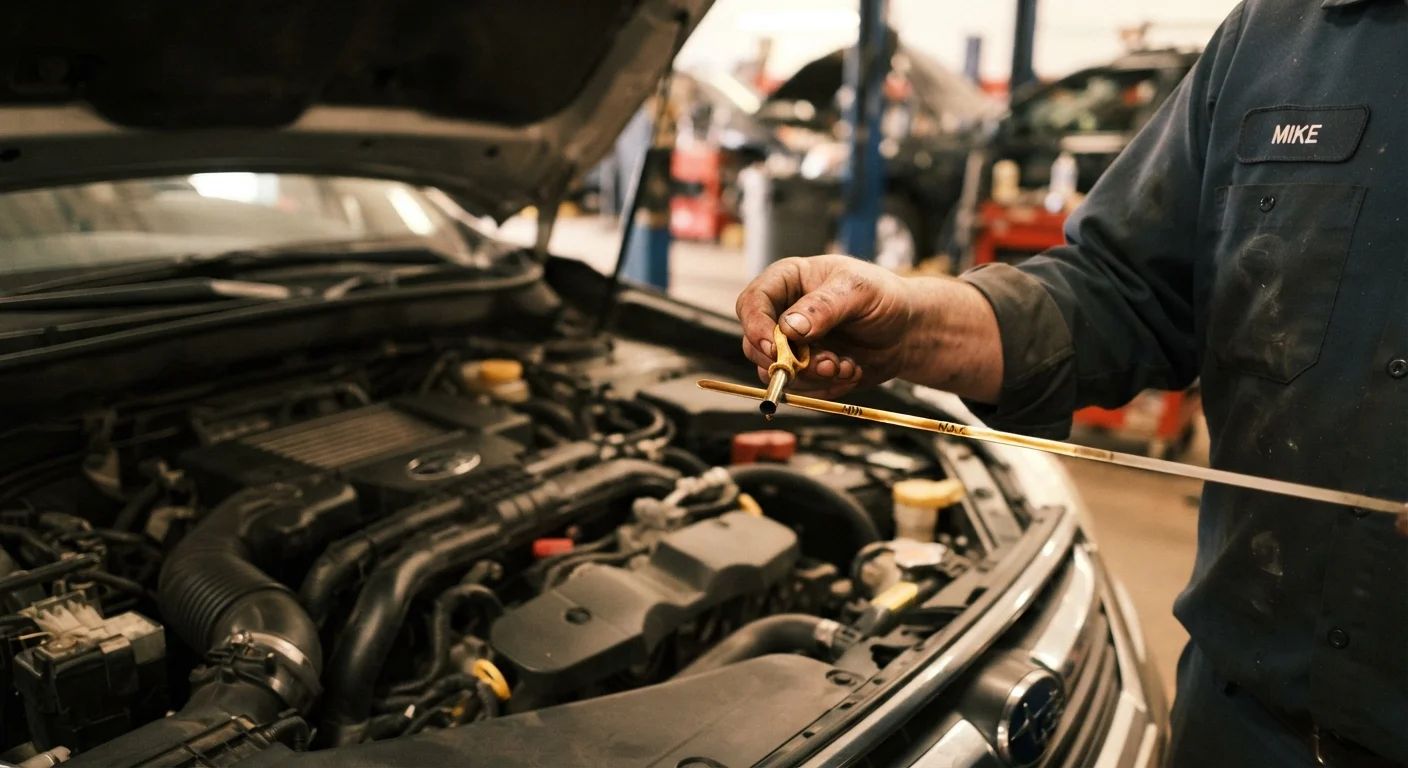
Locate the oil dipstick - usually a brightly colored loop or handle near the center or front of the engine. Pull it out, wipe it clean with your rag, reinsert it fully, then pull it again. The oil film should fall between the two marks (MIN and MAX, or two dots). Note the color: healthy oil ranges from amber to dark brown. Black, gritty, or milky oil signals a problem that warrants professional attention.
Inspect the coolant reservoir
Locate the translucent plastic coolant reservoir - typically on one side of the engine bay, connected by a hose to the radiator. Without removing the cap, check that the fluid level sits between the LOW and FULL lines marked on the side of the tank. Healthy coolant is usually green, orange, or pink depending on the type; a rusty brown color can indicate contamination. Do not open the radiator cap or coolant reservoir cap when the engine is hot - pressurized steam can cause serious burns.
Check brake fluid
Find the brake fluid reservoir - a small, semi-transparent plastic cylinder on top of the brake master cylinder, usually located near the firewall on the driver's side. The level should be visible through the reservoir wall and should sit between MIN and MAX. Brake fluid is typically clear to light yellow when fresh; dark brown fluid indicates it has absorbed moisture and may need flushing. Do not open the cap unnecessarily, as brake fluid absorbs moisture from the air.
Inspect transmission and power steering fluids
Transmission fluid: Many automatic transmissions have a dipstick similar to the oil dipstick, located toward the back of the engine bay. Some newer vehicles have sealed transmissions with no user-accessible dipstick - check your owner's manual. With the engine warm and running (for most automatics), pull, wipe, reinsert, and read. Healthy fluid is bright red or pink; dark or burnt-smelling fluid needs a professional look.
Power steering fluid: On vehicles with hydraulic power steering, locate the reservoir (usually labeled with a steering wheel icon). Check the level via the dipstick built into the cap or the side markings. Many newer vehicles use electric power steering and have no fluid to check - again, your owner's manual confirms which system your car uses.
Know When to Call a Professional
Fluid checks are a monitoring tool, not a substitute for qualified service. If any fluid is severely low, contaminated, or keeps dropping despite top-ups, that's a signal of an underlying problem. Consult a licensed mechanic rather than continuing to add fluid and drive on. For guidance on which tasks are safe for home mechanics, see DIY Maintenance vs. Taking It to a Shop.
Interpreting What You Find
A fluid check tells you two things: level and condition. Level is straightforward - fluid that sits below the minimum mark needs to be brought up to spec using the correct fluid type. Condition requires a bit more judgment.
- Engine oil: Dark brown is normal wear; black and gritty suggests it's overdue for a change. Milky or foamy oil can indicate coolant contamination - a serious engine issue.
- Coolant: Rusty or murky coolant has likely broken down and may be corroding internal components. A coolant flush is typically recommended every 30,000-50,000 miles, though this varies by vehicle.
- Brake fluid: Darkening over time is expected, as brake fluid absorbs moisture from the environment. Most manufacturers recommend flushing it every two years or per your service schedule. For more on how brake fluid fits into the overall system, see Brake System Basics.
- Transmission fluid: A burnt smell or very dark color indicates the fluid has broken down and should be inspected by a mechanic.
Build Checks Into Your Routine
Consider doing a quick fluid scan every time you stop for fuel - it takes under five minutes and creates a habit that catches small issues early. Pairing fluid checks with your broader maintenance schedule helps you spot patterns, like a fluid that keeps dropping, before they become emergencies. See Your Car's Maintenance Schedule, Decoded for a broader look at service intervals.
Never Open a Hot Radiator Cap
Coolant systems are pressurized. Opening the radiator cap or coolant reservoir cap when the engine is hot can release a burst of steam and scalding fluid. Always wait until the engine has fully cooled before inspecting or adding coolant. This is one of the most common causes of burns during home vehicle maintenance.
For a broader look at what keeps your tires and other key systems in shape alongside fluids, Tire Pressure, Tread Depth, and the Checks Most Drivers Skip rounds out a solid home inspection routine.
This article is for general informational purposes only. Vehicle configurations vary - always consult your owner's manual and a qualified mechanic before adding or replacing any vehicle fluid.
The content on this site is for informational purposes only and is not a substitute for professional advice. Always consult a qualified professional for guidance specific to your situation.