

Why Air Leaks Matter More Than Most Homeowners Realize
Most home energy loss is invisible. Air quietly escapes through gaps around window frames, pipe penetrations, recessed lights, and electrical outlets - and the cumulative effect across an entire house can be substantial. According to the U.S. Department of Energy, air leakage in a typical American home can account for a significant share of heating and cooling costs, though the exact amount varies widely by house age, construction type, and climate.
Unlike a broken appliance or a visibly damaged roof, air leaks are easy to ignore because they don't announce themselves loudly. But as our article on the hidden cost of deferred maintenance explains, small problems left unaddressed have a way of compounding quietly. Leaky homes also put more demand on HVAC systems, shortening their service life. Air sealing is one of the few home improvement tasks that requires minimal skill, costs relatively little, and delivers durable results.
This guide walks through a full DIY air-sealing process - from finding leaks to choosing the right material for each gap. For broader cold-weather preparation, this task pairs well with the checks covered in getting your house ready before winter.
What you will need
Tools and Materials You'll Need
The good news: most air-sealing jobs require only basic supplies. Below are the key tools and materials for a thorough walkthrough of your home.
Caulk gun and caulk (latex or silicone)
Fills stationary gaps around window and door frames, baseboards, and pipe penetrations.
Foam weatherstripping tape
Seals gaps along the edges of movable door and window sashes.
Expanding spray foam
Fills larger or irregular gaps around pipes, wires, and structural penetrations.
Incense stick or thin candle
Reveals air movement near suspected leak locations when smoke wavers or extinguishes.
Flashlight
Helps illuminate dark corners in attics, basements, and crawl spaces where leaks commonly occur.
Utility knife and putty knife
Removes old, cracked caulk and weatherstripping before applying new material.
Door sweep
Blocks the gap between the bottom of an exterior door and the threshold.
Do the Draft Test on a Cold, Windy Day
Air leaks are easiest to detect when outdoor temperatures are significantly lower than indoors and wind is present. Schedule your inspection on such a day for the most reliable results. Close all windows, doors, and fireplace dampers before you begin so airflow patterns are accurate.
Step-by-Step: Finding and Sealing Air Leaks
Never Seal Around Gas Lines or Combustion Vents
Do not caulk or seal areas around gas pipes, furnace flues, water heater vents, or any other combustion appliance exhaust. These areas require clearance for safety and must be handled by a licensed professional. Blocking combustion air or venting pathways can create dangerous carbon monoxide buildup inside the home.
Walk the house and note obvious problem areas
Before buying any materials, do a visual walkthrough of your home's interior and exterior. Look for gaps where different building materials meet: where siding meets the foundation, where pipes and wires enter the wall, around window and door frames, and at baseboards along exterior walls. Write down or photograph each location.
Common leak sites include electrical outlets on exterior walls, recessed light fixtures in ceilings below attic space, and the band joist (the framing member at the top of your foundation wall). Tasks like these are easy to overlook but matter year-round.
Use smoke to confirm active air leaks
Light an incense stick or thin candle and hold it a few inches from each suspected gap. Move it slowly along window frames, door edges, electrical outlets, and pipe penetrations. Watch the smoke carefully: if it drifts toward or away from the wall rather than rising straight up, air is moving through that spot.
Work methodically from room to room. Mark confirmed leaks with a small piece of painter's tape so you can return to them with materials.
Remove old, failed caulk and weatherstripping
New sealant bonds poorly over crumbling or peeling old material. Use a putty knife or utility knife to scrape away deteriorated caulk from window and door frames, making sure the surface is clean and dry before you apply anything new. For weatherstripping on door stops or sashes, peel it away completely and wipe the channel clean.
Apply caulk to stationary gaps
Use a caulk gun loaded with paintable latex caulk (for interior trim and painted surfaces) or silicone caulk (for areas that get wet or face extreme temperature swings, such as exterior window frames). Cut the nozzle at a 45-degree angle to match the width of the gap - typically no wider than ¼ inch.
Apply a steady, continuous bead along the gap, then smooth it with a dampened finger or a caulk tool. Wipe away excess before it skins over. For window and door weatherization detail, our guide to managing window and door drafts covers specific techniques.
Install weatherstripping on doors and operable windows
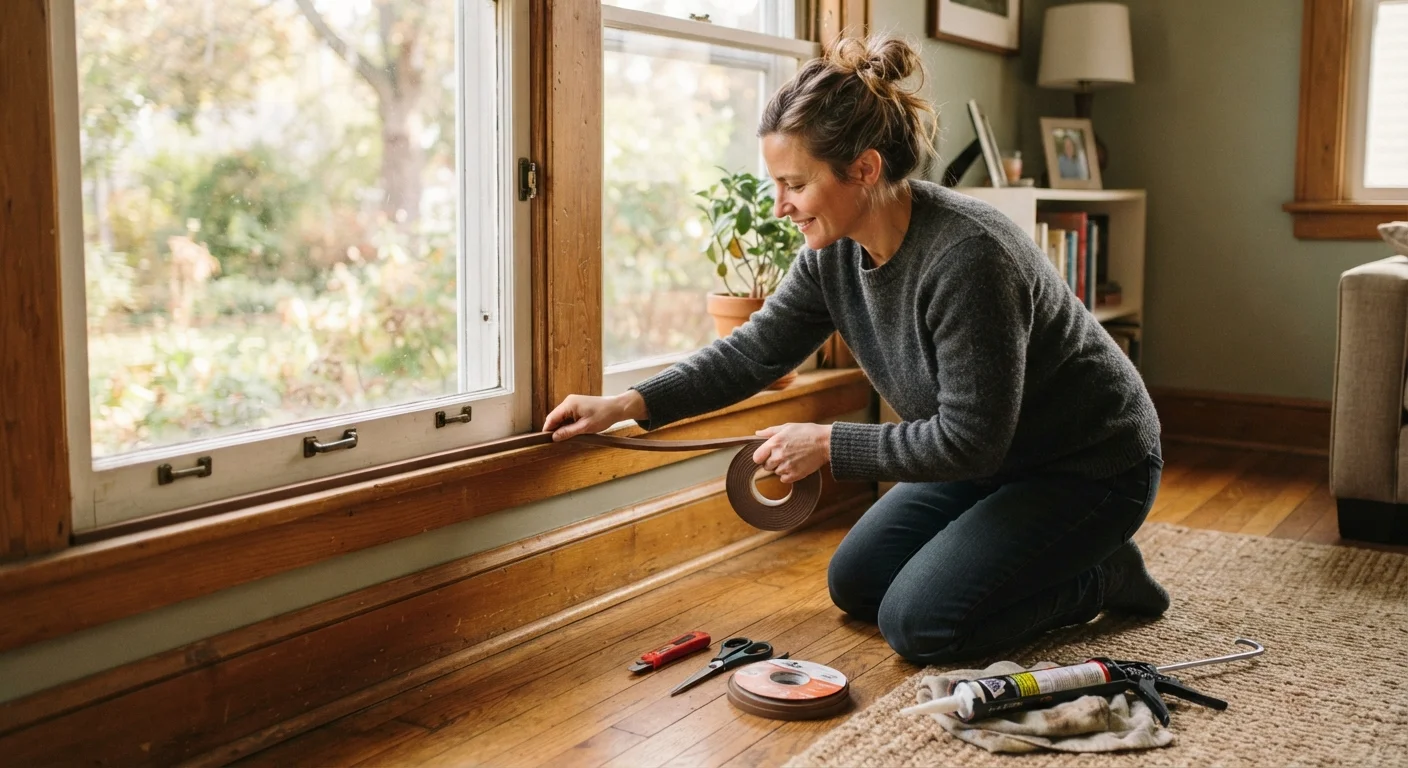
Weatherstripping seals the gaps around moving parts that caulk would just crack. For exterior doors, foam tape or V-strip (tension seal) weatherstripping works well along the sides and top of the door stop. For the bottom gap, a door sweep screwed to the interior face of the door provides a reliable seal against the threshold.
Cut weatherstripping to length with scissors or a utility knife. Press foam tape firmly into clean channels; nail or staple V-strip in place if needed. Test the door: it should close firmly without requiring extra force and should show no light gaps along the edges.
Foam-fill larger gaps around pipes and wires
Expanding spray foam is the right tool for irregular gaps larger than about ½ inch - particularly where plumbing pipes, electrical conduit, or HVAC lines pass through walls, floors, and ceilings. These penetrations are often the worst offenders in older homes.
Shake the can, attach the straw nozzle, and apply foam in short bursts. The foam will expand to roughly double its initial volume as it cures, so use less than you think you need and let it expand fully before trimming any excess with a utility knife after curing. Seal gaps at the band joist in the basement the same way.
Re-test and verify your work
Once all materials have cured (usually 24 hours for caulk, immediately for foam), repeat the smoke or candle test at each location you sealed. Confirm that smoke rises straight up without deflection. Check door sweeps by sliding a sheet of paper under the closed door - you should feel slight resistance as you pull it out.
Air sealing works best as part of a broader weatherization strategy. Pairing it with adequate insulation addresses the full picture: sealing stops uncontrolled airflow while insulation slows heat transfer through surfaces. See insulation types and where each one belongs for guidance on what comes next.
Check for Moisture Before Sealing
Sealing over an area with active moisture infiltration can trap water and cause mold or rot. If you notice staining, dampness, or soft drywall near a gap, investigate the moisture source first. See our guide on diagnosing basement moisture problems for related guidance.
Air sealing is one component of a complete weatherization approach. For a look at how it fits alongside filter changes and gutter maintenance, see how HVAC filters, gutters, and caulk work together. If your home uses a smart thermostat, note that smart thermostats work best in a well-sealed home - they can't compensate for significant air infiltration.
The content on this site is for informational purposes only and is not a substitute for professional advice. Always consult a qualified professional for guidance specific to your situation.