

Why Composting Is Worth the Small Effort
Composting is one of the most practical things a home gardener can do. It converts material that would otherwise go to landfill - fruit peels, coffee grounds, grass clippings, fallen leaves - into a soil amendment that improves virtually every type of garden bed. As explained in our guide to soil health, the organic matter in compost feeds the microorganisms that make nutrients available to plant roots, improves soil texture, and supports drainage and moisture retention simultaneously.
You don't need a large yard or specialized equipment. A basic bin, a garden fork, and a consistent habit of collecting kitchen scraps are enough to get started. If you're starting a garden from scratch, building a compost pile early gives you a steady supply of amendment by the time your beds are ready for planting.
Compost bin or three-sided enclosure
Contains the pile, retains heat, and keeps pests from accessing materials.
Garden fork or compost aerator
Used to turn and aerate the pile, which accelerates decomposition.
Kitchen countertop compost pail
Collects food scraps conveniently between trips to the outdoor bin.
Garden hose or watering can
Used to maintain the moisture level of the pile when it dries out.
Shredder or lawnmower
Breaks down leaves, cardboard, and woody material into smaller pieces.
Setting Up and Running Your Compost Pile
Before you begin, gather what you need and review the requirements below.
What you will need
Choose and set up your composting location
Pick a spot in your yard that is convenient to reach but slightly out of the way - near your garden beds if possible. The site should have good drainage and receive some partial sun, which helps maintain warmth. A bin can be a purchased plastic composter, a simple wire cylinder, or a three-sided wood frame. Aim for a minimum footprint of 3 feet × 3 feet, which is the smallest size that retains enough heat to decompose efficiently.
Understand what to add: browns and greens
Successful composting depends on balancing two categories of material:
- Browns (carbon-rich): Dry leaves, cardboard, paper, straw, wood chips, and paper bags.
- Greens (nitrogen-rich): Vegetable and fruit scraps, coffee grounds, grass clippings, and fresh plant trimmings.
A general guideline is to aim for roughly two to three parts browns for every one part greens by volume. Too many greens and the pile turns slimy and smelly; too many browns and it dries out and stops breaking down.
Build your initial pile in layers
Start with a 4-6 inch layer of coarse browns - sticks, straw, or chunky dried leaves - at the base to promote airflow. Add a layer of greens on top, then cover with another layer of browns. Continue alternating. Lightly water each layer so the pile feels damp throughout, similar to a wrung-out sponge. This layered structure helps establish airflow and moisture distribution from the start.
Maintain moisture and airflow
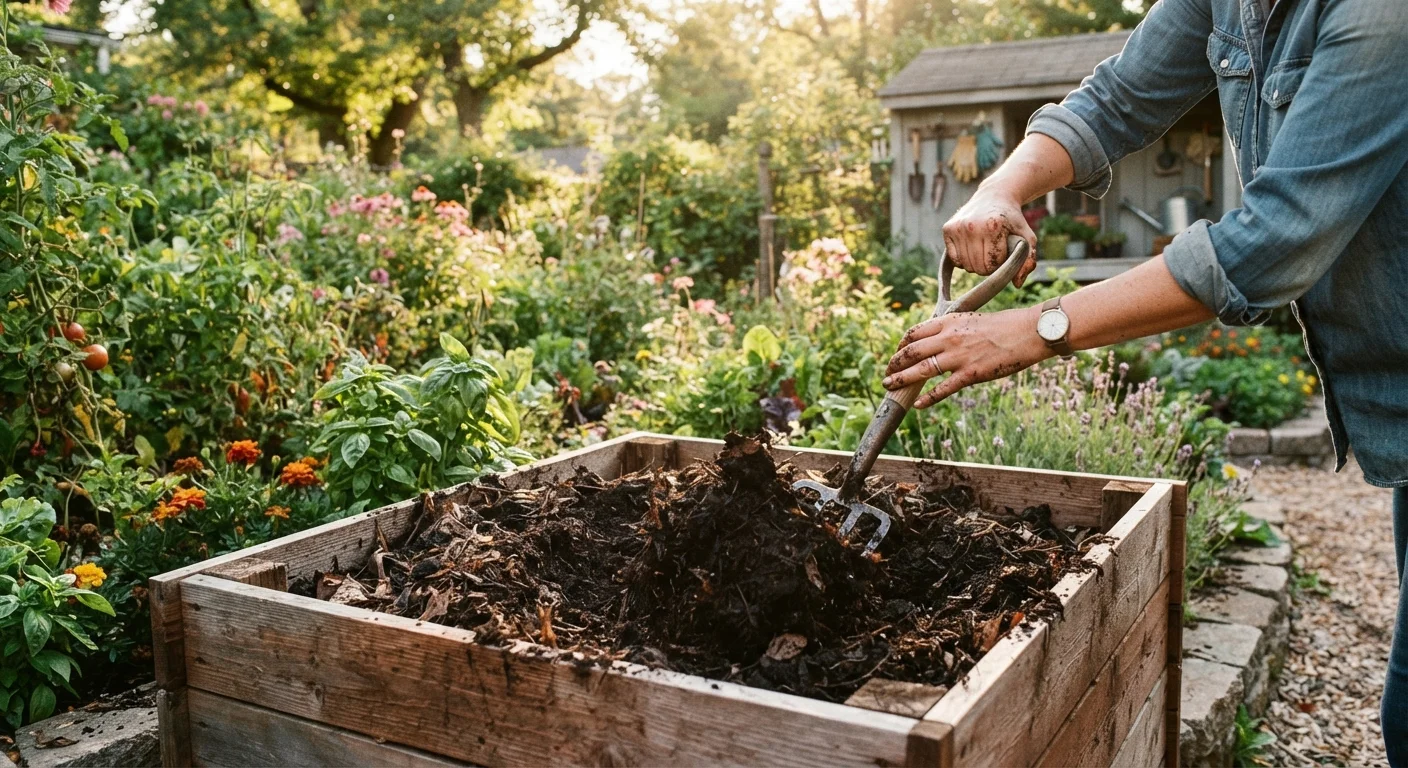
Microorganisms need moisture and oxygen to decompose organic material. Check your pile every week or two. It should feel damp but not waterlogged. In dry weather, add water; in heavy rain, cover the pile or add more dry browns. Turn the pile with a garden fork every one to two weeks to move outer material to the center and reintroduce oxygen. More frequent turning means faster compost.
Recognize when compost is finished
Finished compost is dark brown, crumbly, and smells like fresh earth - not garbage. You should not be able to identify the original materials. This typically takes two to six months for an actively managed pile, or up to a year if turned infrequently. If sections of the pile are still recognizable, push them back in and give them more time. Harvest finished compost from the bottom or outside of the pile first.
Apply finished compost to your garden
Work 1-3 inches of finished compost into the top few inches of garden bed soil before planting, or use it as a top dressing around established plants. Compost improves drainage in clay soils and helps sandy soils retain moisture. It feeds soil life and provides a slow release of nutrients that synthetic fertilizers cannot replicate.
Speed Up Decomposition With One Simple Step
Chopping or shredding materials before adding them to the pile dramatically speeds up breakdown. Smaller pieces expose more surface area to microorganisms. Running a lawnmower over a pile of fallen leaves or tearing cardboard into fist-sized pieces before adding them can cut decomposition time noticeably.
Never Compost These Materials
Avoid adding meat, fish, bones, dairy products, pet waste, or diseased plants to a home compost pile. These materials either attract pests, create harmful pathogens, or fail to break down safely in a typical backyard setup. Stick to plant-based kitchen scraps and yard debris to keep your pile safe and functioning.
Troubleshooting Common Composting Problems
Most composting problems have straightforward fixes once you know what to look for.
A Smelly Pile Is a Sign of Trouble
A healthy compost pile smells earthy, not rotten. A foul odor usually means the pile is too wet, lacks airflow, or contains unsuitable materials. If you notice strong ammonia or sulfur smells, add dry brown materials like shredded cardboard or dried leaves and turn the pile to reintroduce oxygen.
- Pile isn't breaking down
- The pile is probably too dry, lacks nitrogen-rich greens, or the pieces are too large. Add a layer of fresh kitchen scraps, moisten the pile, and turn it. Shredding materials before adding them also helps considerably.
- Pile is attracting animals
- Food scraps left on the surface or added without sufficient cover are the most common cause. Always bury new food scraps under at least a few inches of browns, and consider a bin with a latching lid if wildlife is persistent in your area.
- Pile is matted and clumping
- Grass clippings and fresh leaves tend to compact into dense mats that block airflow. Mix them with coarser materials like cardboard or wood chips before adding, and break up any clumps when turning.
Composting works well alongside other soil-care practices. Mulching and composting together create a layered approach to soil health - mulch protects the surface while compost feeds the soil below. If you garden in containers, finished compost can be blended into potting mixes; see our container gardening guide for suggested ratios.
The content on this site is for informational purposes only and is not a substitute for professional advice. Always consult a qualified professional for guidance specific to your situation.